SSL Certificate Installation for Lync 2013
- On the Windows Start menu, click the Lync Deployment Wizard icon.
- Click Install (or Update) Lync Server System.
- In the Lync Server 2013 – Deployment Wizard, on the Welcome to Lync Server deployment page, in the Step 3: Request, Install or Assign Certificates section click Run.
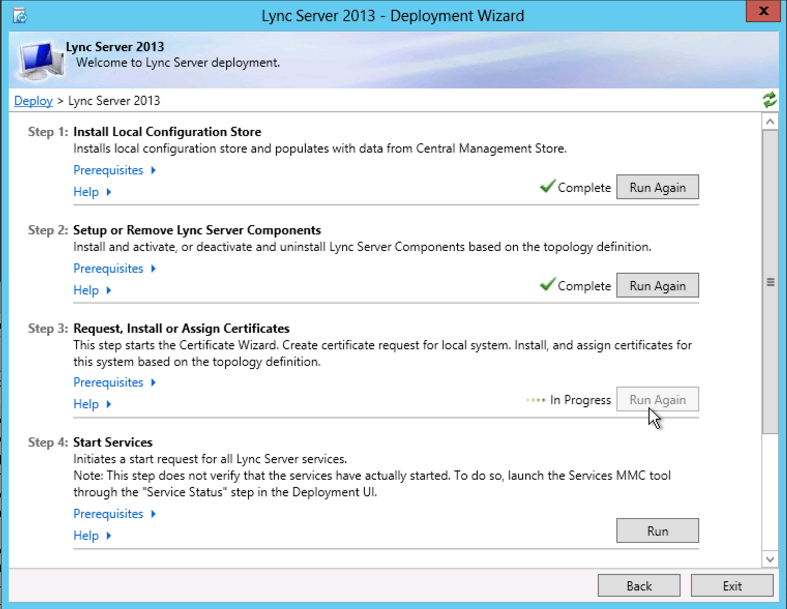
- In the Certificate Wizard window, select External Edge certificate and then click Import Certificate.
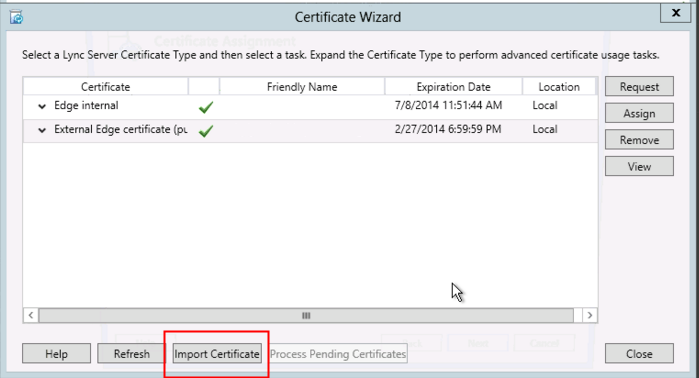
- On the Import Certificate page, next to the Select Certificate file box, click Browse to locate and select your SSL certificate file.
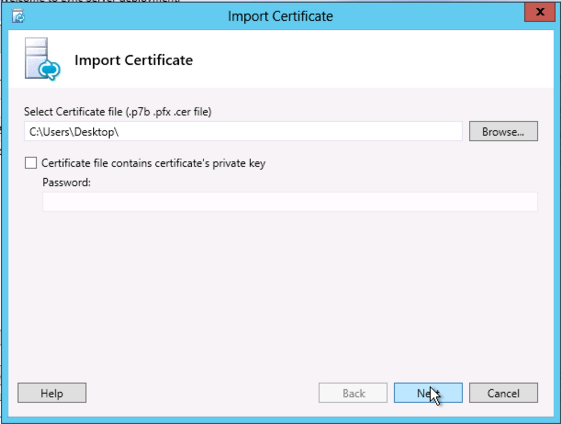
- If the certificate file contains the private key, check Certificate file contains the certificate's private key and then type the Password.
- Click Next.
- On the Summary page, verify that your information is correct and then click Next.
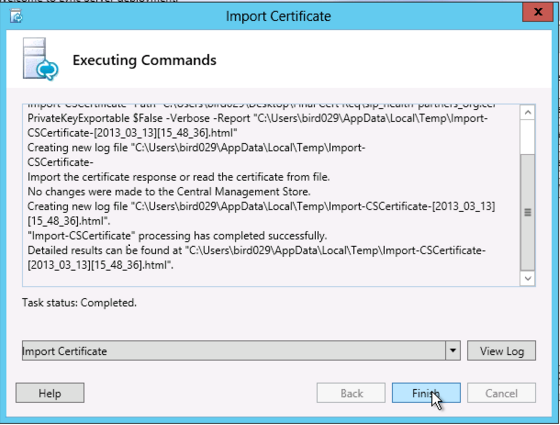
- On the Executing Commands page, verify that the import is completed (Task status: Completed) and then click Finish.
-
On the Certificate Wizard main page, select External Edge Certificate and then click Assign.
Note: Don't worry if your certificate doesn't appear yet in the Certificate Wizard list. After you Assign the certificate, it should appear in this list.
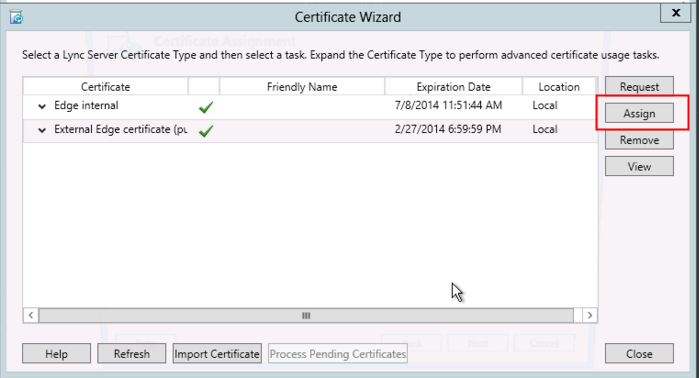
- In the Certificate Assignment wizard on the Certificate Assignment page, click Next.
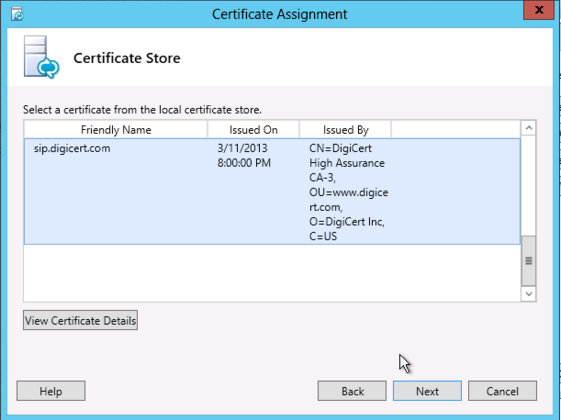
- On the Certificate Store page, do the following:
- Click View Certificate Details to verify that you've installed the correct certificate.
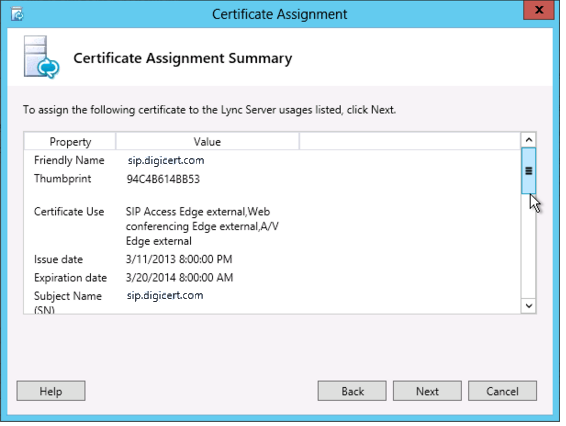
- On the Certificate Assignment Summary page, verify that the certificate assignment details are correct, and then click Next.
- On the Certificate Store page, click Next.
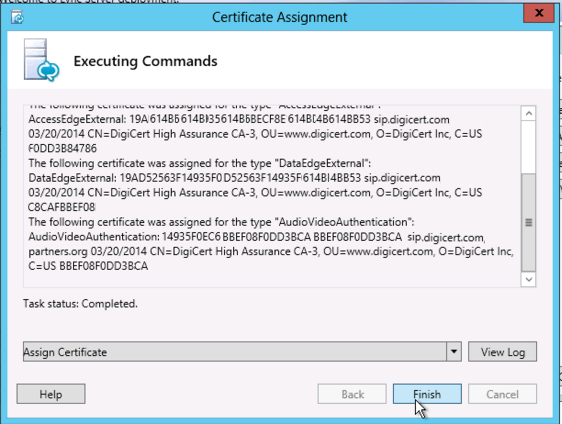
- On the Executing Commands page, verify that that certificate assignment is completed (Task status: Completed) and then click Finish.
- To verify that you certificate has been properly installed, the "status" in the Status column on the External Edge Certificate should be Assigned.
Your certificate has been installed.
Updated 7 days ago
