SSL Certificate Installation for Exchange 2013
Installing with the Exchange Management Console
- Download and open the ZIP file containing your certificate. Your certificate file will be named your_domain_name.cer.
- Copy the your_domain_name.cer file to your Exchange server's network share folder (where you saved the CSR).
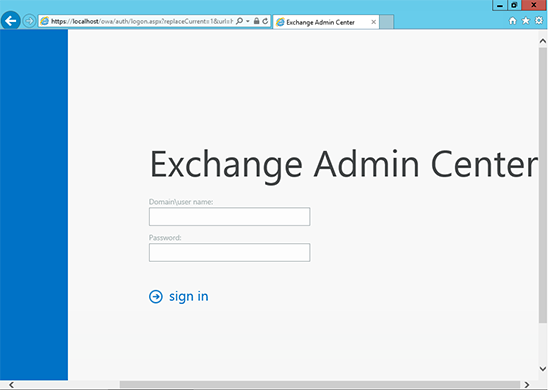
- Access the Exchange Admin Center by opening a browser and browsing to https://localhost/ecp
- Login using Domain\user name as the format for the user name and enter your password.
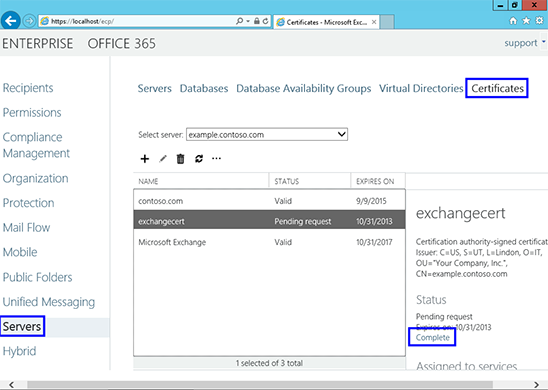
- Click the link to Servers in the left column, then Certificates at the top right.
- Select your certificate from the menu in the center of the screen (listed by its Friendly Name), and then click the "Complete" link located in the right column.
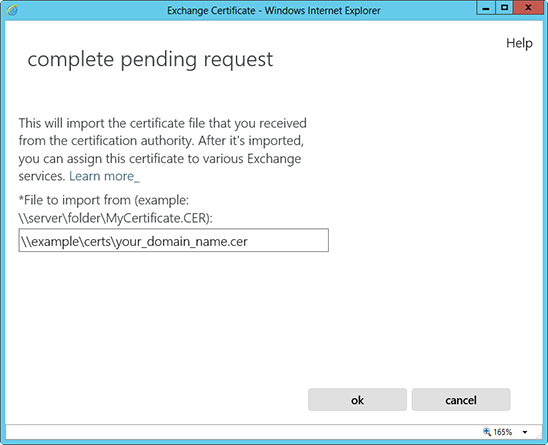
- Enter the network share path to where your certificate file is located
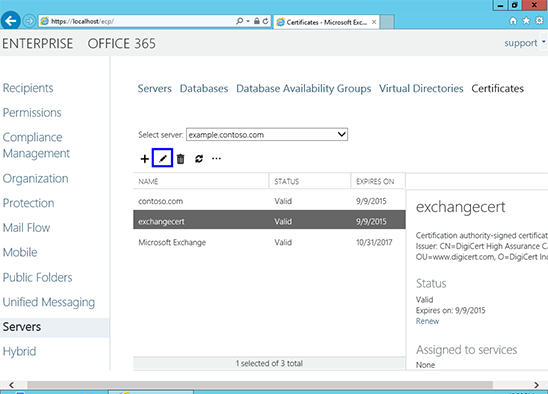
- The certificate should be successfully installed on the server.
- Now, to enable your certificate for use, go back to the Certificates section of the Exchange Admin Center, highlight the certificate you want to use and click the edit button.
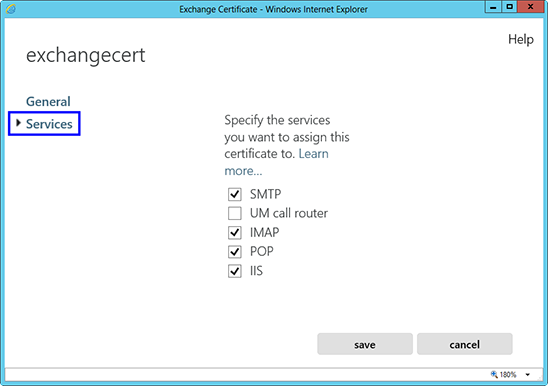
- Click the Services option on the left side.
- Select the services for which you would like to enable your new certificate, click Save.
Your certificate should now be Installed and Enabled for use with Exchange.
Updated 7 days ago
